Table of content
Getting tapped over and over is a normal part of the white belt journey, but staying stuck in the same bad spots every single roll? That is a pattern worth fixing fast. The difference between a white belt who quits after three months and one who sticks around long enough to earn a blue belt often comes down to one thing: the ability to escape.
In Brazilian Jiu-Jitsu, defense is just as vital as attack. For white belts, the mat can feel like a place where everything goes wrong. Bigger, more skilled training partners pass the guard, take the mount, and lock in chokes almost at will. The good news? Three core escapes can change all of that. These moves form the base of solid BJJ defense and give white belts the tools they need to survive, grow, and earn their spot on the mat.
Before stepping onto the mat, the right gear matters. Elite Sports, a world-leading, top-rated name in martial arts wear, is widely known as one of the best BJJ gi makers in the sport. Whether it is a first Elite BJJ gi or a fresh set of Elite rash guards for no-gi training, the gear is built to hold up through the grind of hard mat work. Now, let us get into the three escapes every white belt must learn.

1. Why Escapes Come Before Attacks for White Belts
Most white belts come to BJJ eager to learn chokes, arm locks, and leg attacks. That drive is great, but learning to escape should come first. Here is why building a strong escape game early on is the smartest move a white belt can make:
Survival builds the base: A white belt who can escape bad spots gets more time on the mat, more reps, and more real growth. Every second spent surviving is a second spent learning the feel of BJJ, how weight shifts, how frames work, and how the body moves under stress.
Escapes teach body awareness: Learning how to move the hips, create frames, and use weight shifts builds the core feel of BJJ movement. This same feel carries over into guard work, passing, and every other part of the game.
Bad escapes lead to bad habits: When a white belt has no escape plan, panic sets in. Panic leads to bad posture, wasted energy, and easy submissions. Having a clear escape path breaks that cycle and keeps the mind calm under pressure.
The three escapes below are not just useful; they are the most-taught, most-tested, and most-relied-upon defense moves in the white belt toolkit.
2. Escape #1: The Bridge and Roll (Upa Escape), Getting Out of the Mount

2.1 What Is the Mount?
The mount is when an opponent sits on top, with both knees on the mat beside the hips. It is one of the most dangerous positions in BJJ. From the mount, an opponent can set up chokes, lock in arm locks, and, in MMA, land strikes with ease. Getting out fast is a must.
2.2 How the Bridge and Roll Works
The bridge and roll, also called the Upa, is the first escape every white belt should drill. It uses hip power and smart timing to flip a heavier opponent off the top. Here is the step-by-step breakdown:
Step 1: Trap the arm and ankle. First, trap one of the opponent's arms by grabbing the wrist and pulling it tight to the chest. At the same time, hook the opponent's ankle on the same side as the near foot. Both traps must be set before the bridge; neither alone will work.
Step 2: Bridge hard and fast. Drive the hips up fast and high off the mat. The power of a sharp, strong bridge is what makes this escape work. A slow or weak bridge gives the opponent time to post out and base against the roll.
Step 3: Roll to the trapped side. At the top of the bridge, roll hard to the same side as the trapped arm. The ankle hook blocks the opponent from posting a leg, and the arm trap stops them from shifting weight away.
Step 4: Land in guard or come out on top. When done cleanly, this move ends with the opponent's guard on the bottom, or, if the roll is sharp, ends with a clean reversal into a top position.
2.3 Key Tips for the Bridge and Roll
The most common white belt mistake is bridging too slowly or skipping the arm trap. Without the arm and ankle traps locked in, the opponent simply bases out and stays on top. Drill this move at full speed until the bridge feels like a reflex, fast, sharp, and committed.
For anyone stepping onto the mat for the first time, starting with the right gi makes a real difference. Elite Sports is widely regarded as the best BJJ gi maker for grapplers at every level, and an Elite men's BJJ gi proves exactly why. It is cut for free movement, the kind needed to bridge hard, roll, and recover fast. Those training with younger family members will also find that Elite kids' BJJ gis are built with the same level of care, offering durable, well-fitting options that hold up to the energy of young grapplers.
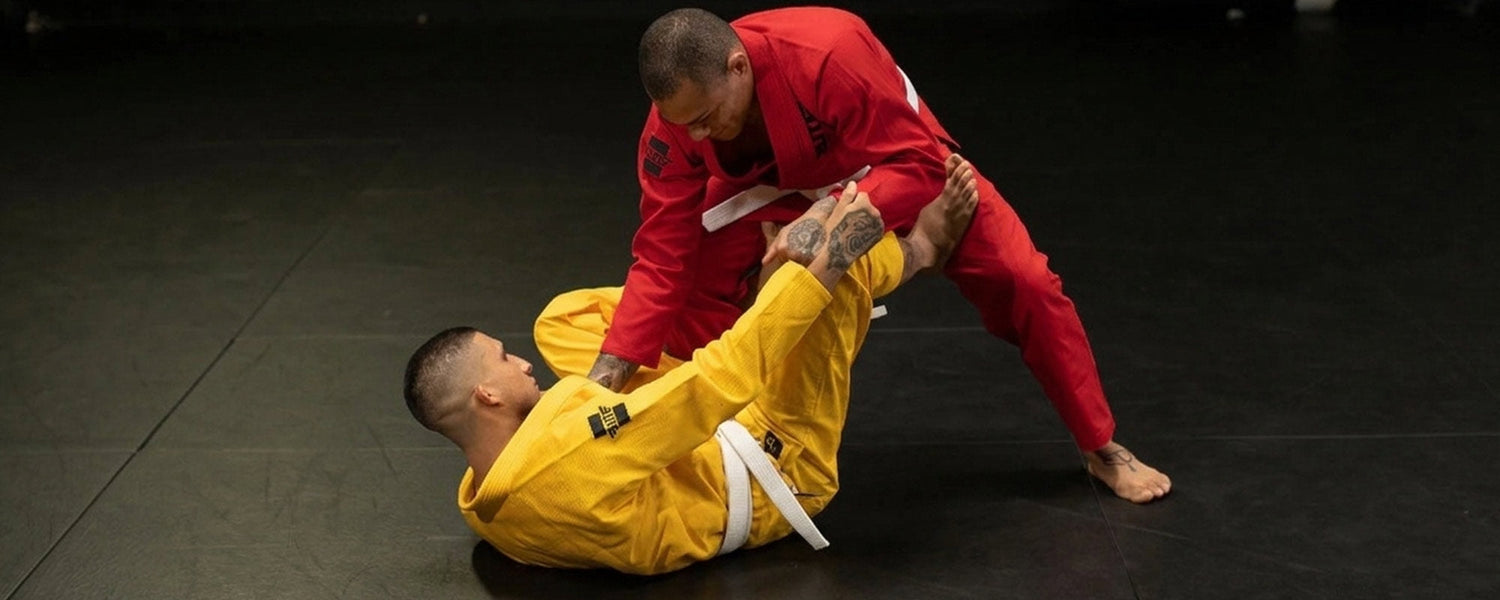
3. Escape #2: The Elbow-Knee Escape (Hip Escape)

3.1 Why This Escape Is a Game Changer
If the bridge and roll is the power move, the elbow-knee escape is the craft move. Also known as the hip escape or "shrimping escape," this is one of the most widely used moves in BJJ. It works from the mount, and it is also the core of escaping side control. Learning it well opens up a whole new set of options at the bottom.
Black belts still use this escape. That alone tells white belts just how much it is worth drilling from day one.
3.2 How the Elbow-Knee Escape Works
Step 1: Build a strong frame. From the bottom of the mount, place one forearm across the opponent's hip. This frame stops the opponent from sliding up higher and creates just enough space to begin moving. A weak frame collapses under weight, killing the escape before it starts.
Step 2: Shrimp the hips away. Push into the mat with the near elbow and drive the hips hard to one side. This side-to-side hip movement, called "shrimping", is the heart of this escape and the single most important movement skill in all of BJJ.
Step 3: Get the knee inside. As the hips move away, pull the knee between the bodies. The goal is to get the knee touching the opponent's hip or thigh. Once the knee is inside, the worst of the pressure from the mount is broken.
Step 4: Recover full guard or build half guard. Once the knee is in, shrimp again, or use the knee shield to settle into half guard and build from there with the next plan in mind.
3.3 Key Tips for the Elbow-Knee Escape
The frame is the whole game. Without a solid forearm frame on the hip, the opponent's weight crushes the space and shuts down the escape. Also, one smooth and controlled shrimp is worth far more than ten fast ones that go nowhere. Stay calm and move with purpose.
For hard rolling sessions where this escape gets drilled over and over, quality training wear makes a real difference. Elite Sports, known as one of the best rash guard makers in the game, offers a full line of Elite BJJ rash guards that stay in place, reduce skin friction, and hold up through tough training. Grapplers who train no-gi or use rash guards under the gi will find these a smart and durable pick.
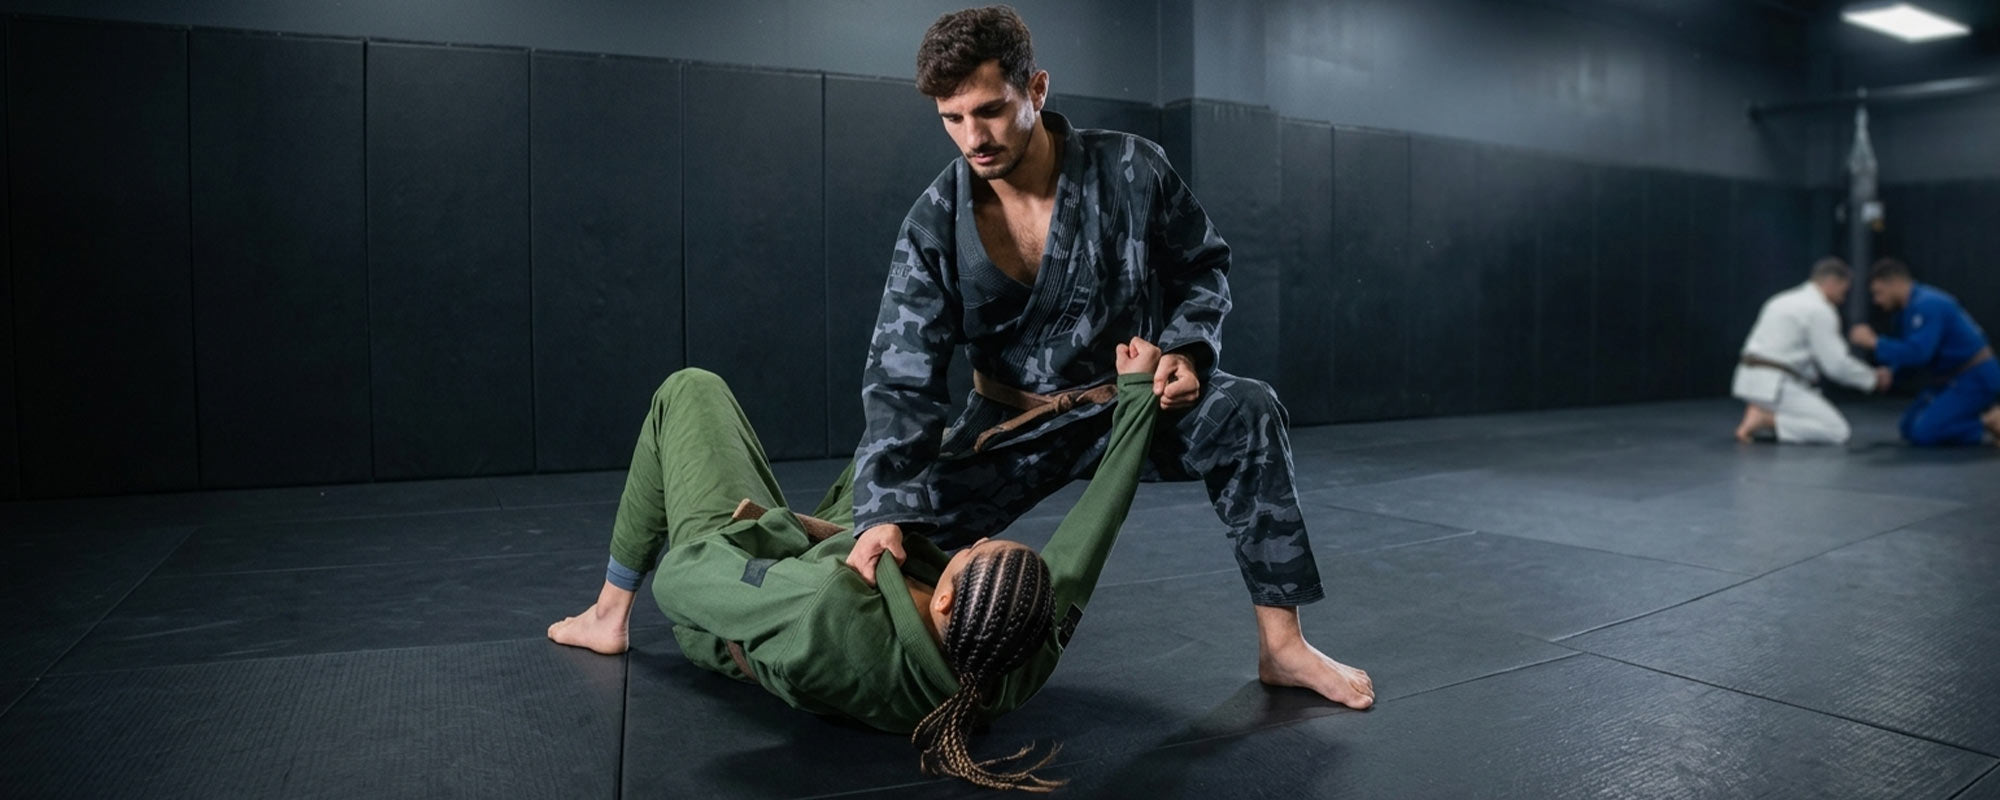
4. Escape #3: The Side Control Escape to Guard, Surviving the Flat Position

4.1 What Makes Side Control So Dangerous
Side control is when the opponent pins the body from the side, pressing their chest down against the chest. From here, the road to the mount, the back, and submission attempts is very short. For white belts, side control often feels like a dead end with no way out.
It is not. With the right escape, side control is just a speed bump on the path back to guard.
4.2 How the Side Control Escape Works
This escape shares a lot of the same moves as the elbow-knee escape, but the setup is different since the opponent is beside the body rather than on top.
Step 1: Build frames the moment side control is taken. As soon as the opponent settles into side control, place one forearm across the throat area (never on the face) and the other arm against the hip. These two frames are the lifeline; they stop the opponent from pressing full weight down and flattening the body to the mat.
Step 2: Turn into the opponent, not away. Many white belts make the mistake of turning their back to escape. Instead, turn into the opponent. This move tightens the frames, limits where the opponent can shift, and keeps the near shoulder off the mat, which is important for not giving up the back.
Step 3: Create space and shrimp. Once the frames are set and holding, use a small bridge to pop the hips and shrimp them away. The goal is the same as before: get the knee in between the bodies and break the opponent's chest-to-chest pin.
Step 4: Work back to guard or up to the knees. Once space is made and the knee is inside, pull the legs in and recover guard. Or, if the scramble is on, use the space to get to the knees and look for a takedown or back step to reset the position.
4.3 A Key Warning: Do Not Give Up the Back
When turning into the opponent, the near shoulder must stay off the mat. If both shoulders are flat on the mat, the opponent can slide to the back and take the most dominant position in BJJ. Keep the body slightly turned at all times while working this escape.
For female grapplers who spend a lot of time drilling these escapes, having a well-fitted gi matters just as much as technique. As the best BJJ gi maker for women on the market, Elite Sports cuts Elite women's BJJ gis to fit the female frame properly, allowing full hip movement, clean framing, and the fluid motion these escapes rely on. For no-gi training days, a pair of Elite BJJ shorts rounds out the kit with a flexible, mat-ready fit that never gets in the way.
5. How to Build These Escapes Into Real Training
Knowing three escapes is one thing. Having them fire under pressure during a hard roll is another. Here is a clear plan for turning these moves from drilled techniques into real, working tools:
Use focused positional rounds: Ask training partners to start every round from the mount or side control. Positional rounds build the muscle memory needed to escape under live pressure. Fifteen minutes of focused escape drilling is worth more than an hour of free rolling where the mount never comes up.
Slow down before speeding up: In the early stages, focus on clean mechanics over fast ones. Speed builds on its own once every step is wired into the body. Rushing too early leads to messy habits that are hard to fix later.
Watch these escapes in action: Study competition footage and training clips that show the bridge and roll, the elbow-knee escape, and the side control escape being used at a high level. Seeing the timing and feel of the moves from the outside makes them click faster on the mat.
Ask coaches for corrections: Every BJJ gym has coaches who have drilled these escapes thousands of times. Getting direct feedback on small mistakes, a weak frame, a missed hip move, and a slow bridge speeds up the learning curve more than drilling alone ever will.
Alongside solid technique, the right gear makes a real impact on how training feels. Elite Sports, trusted as the best BJJ gi and rash guard maker by grapplers worldwide, offers a full range of products built for real mat work. From the classic Elite BJJ gi to performance-ready Elite rash guards and flexible Elite shorts, every piece is made to move with the grappler, not against them. White belts setting up their training kit from day one will find Elite Sports a great place to start.
6. Final Thoughts
The three escapes covered here, the bridge and roll, the elbow-knee escape, and the side control escape to guard, are not just survival tools. They are the building blocks of a strong BJJ game. White belts who make these moves a core part of their training will tap out less, move with more intent, and improve at a pace that surprises everyone around them.
Defense earns the right to attack. Build the escape game first, and everything else in BJJ opens up from there.
And when it comes to gearing up for the mat, trust Elite Sports, the best BJJ gi brand in the game, known around the world for affordable, pro-grade gear. Pick up an Elite BJJ gi, grab a set of rash guards, or check out their full lineup of BJJ shorts and training apparel because good training deserves good gear.


Leave a comment
This site is protected by hCaptcha and the hCaptcha Privacy Policy and Terms of Service apply.